CSS
How to add favicon in HTML?

In this blog article, we will learn How to add a favicon in HTML.
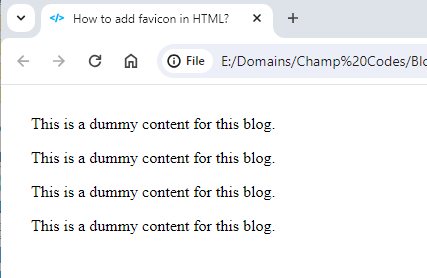
A favicon is a small image displayed in the browser’s title bar. It is displayed at the beginning of the title bar beside the website’s title text.
This favicon can also be seen in the Google results. When someone searches Google for a specific keyboard, google displays the result and in these results, we can also see the favicon for each website.
Favion is necessary for every website as every browser will look for the favicon and if it fails to find the favicon then it will display its favicon that is default for all websites.
How to add favicon in HTML?
A Favicon is added through the <link> tag in HTML.
In this link tag, we have to specify the location of the image that is to be displayed as favicon.
This link should be added within the <head> tag. It is probably added following the <title> tag.
The recommended format of the image to be displayed as a favicon is .ico format although we can also add a .png image.
In the below example code, we have added the favicon by adding the <link> tag :-
HTML :-
    <html>
        <head>
           <title>How to add favicon in HTML?</title>
           <link rel="icon" type="image/x-icon" href="images/favicon.ico">
        </head>
        <body style="margin: 30px;">
          <p>This is a dummy content for this blog.</p>
          <p>This is a dummy content for this blog.</p>
        </body>
    </html>
Output :-
Recap
With a quick recap, we have learned the HTML tag for adding the favicon. Simply adding a link tag at the top of the HTML document within the head tag commands the browser to display the favicon image.
We are expecting with good faith that you have found the solution for what you were looking for.